
Sewing for Complete Beginners: A Practical Starting Point
A first sewing session goes more smoothly when the goal is not a finished wardrobe piece but one straight, controlled seam on stable fabric.
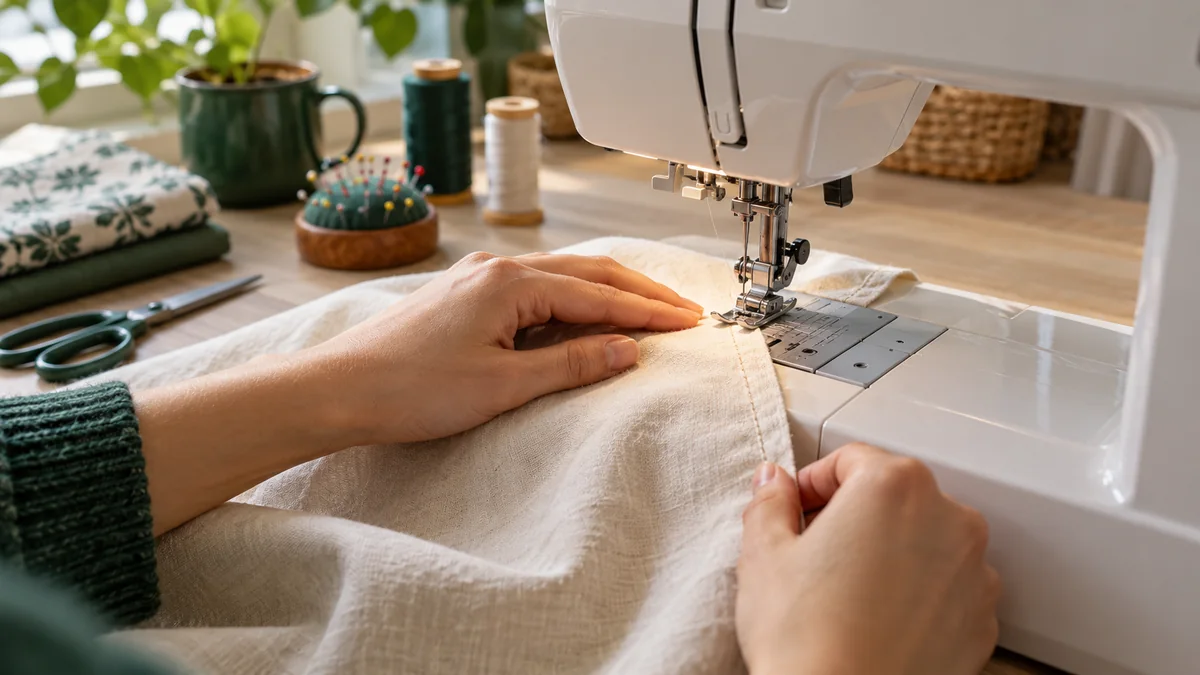
Begin with stable woven cotton, a fresh universal needle and straight seams on scraps before attempting a fitted or slippery project.
Learn the machine on forgiving material
Read the machine manual for threading, bobbin direction, presser feet and safety. Controls that look similar can work differently between models.
Thread with the presser foot raised so the upper thread enters the open tension discs. Lower it before sewing.
- Wind and insert the bobbin correctly.
- Thread the upper path with the foot raised.
- Test on two layers of scrap fabric.
- Practise seams, corners and a simple hem.
Use a medium stitch length around 2.5 mm for ordinary practice. Backstitch briefly at each end without building a thick knot of thread.
When thread nests underneath, stop and rethread the upper path before turning tension dials. The visible tangle often begins above the fabric.
Let the feed dogs move the fabric. Guide direction with relaxed hands and keep fingers well away from the needle path.
A small envelope, drawstring bag or cushion cover teaches more useful control than a complicated first garment.
First project: a simple practice pouch
Use two prewashed stable woven scraps, each 15 × 20 cm, matching thread, a suitable needle, ruler, fabric marker and pins or clips. This open-top pouch is a practice exercise rather than a load-bearing bag. Read the machine's threading and safety instructions first, especially needle and bobbin installation.
- Mark a 1 cm seam line along both long sides and the bottom on one piece. These dimensions already include that allowance.
- Place the right sides together. On a matching two-layer scrap, test a straight stitch around 2.5 mm long and inspect both sides.
- Sew the two sides and bottom at the marked distance. Remove pins before they reach the needle. Stop to pivot at the corners according to the machine's instructions.
- Finish the exposed seam allowances using a method suitable for the cloth, then turn the pouch right side out. Avoid cutting through the corner stitches.
- At the open top, press a 1 cm turn, then another 1 cm turn. Stitch around the inner folded edge without sewing the opening closed.
The nominal finished width is 13 cm: 15 minus a 1 cm seam on each side. The height is about 17 cm after the bottom seam and two top folds. The exercise makes the effect of seam and hem allowances visible.
Check the result before starting a garment
Measure the distance between seam and raw edge on the inside. If it varies, practise watching a seam guide instead of the moving needle. If thread loops collect underneath, rethread with the presser foot raised before changing tension. If the top hem twists, press and measure the folds again rather than pull the fabric straight while sewing.
Continue with straight-seam control and the troubleshooting guide. A garment adds curves, fit and finishing decisions; this small project lets you learn machine control first.
Keep a first-seam practice record
Use scrap fabric with the same layers and planned seam allowance. Follow the machine manual for setup.
This blank worksheet is for your observations. It is not a record of a project tested by this publication.
Saving is optional and replaces this guide's previous saved record on this browser. Download first to keep multiple samples. This tool does not submit your notes to the publisher. Avoid private information on a shared device. Unsaved changes disappear when you leave.